

Quickstart
Follow these steps to launch your first okl.ink project page.1
Sign in with Email OTP
Visit okl.ink/login and sign in using your email address.
Enter the verification code to authenticate and access your Dashboard.
2
Create a New Project Page
From your Dashboard, click Create Project.Provide the core details:
- Title: The headline displayed on your project header (e.g.,
My Launch Project). - Description: A concise one-line summary of what you are sharing.
- Slug: Your unique URL identifier (e.g.,
my-projectresolves tookl.ink/my-project). - Cover Image (Optional): A banner image URL (
https://...).
3
Add & Arrange Your Link Tiles
Click the Add Tile button (Select a tile size: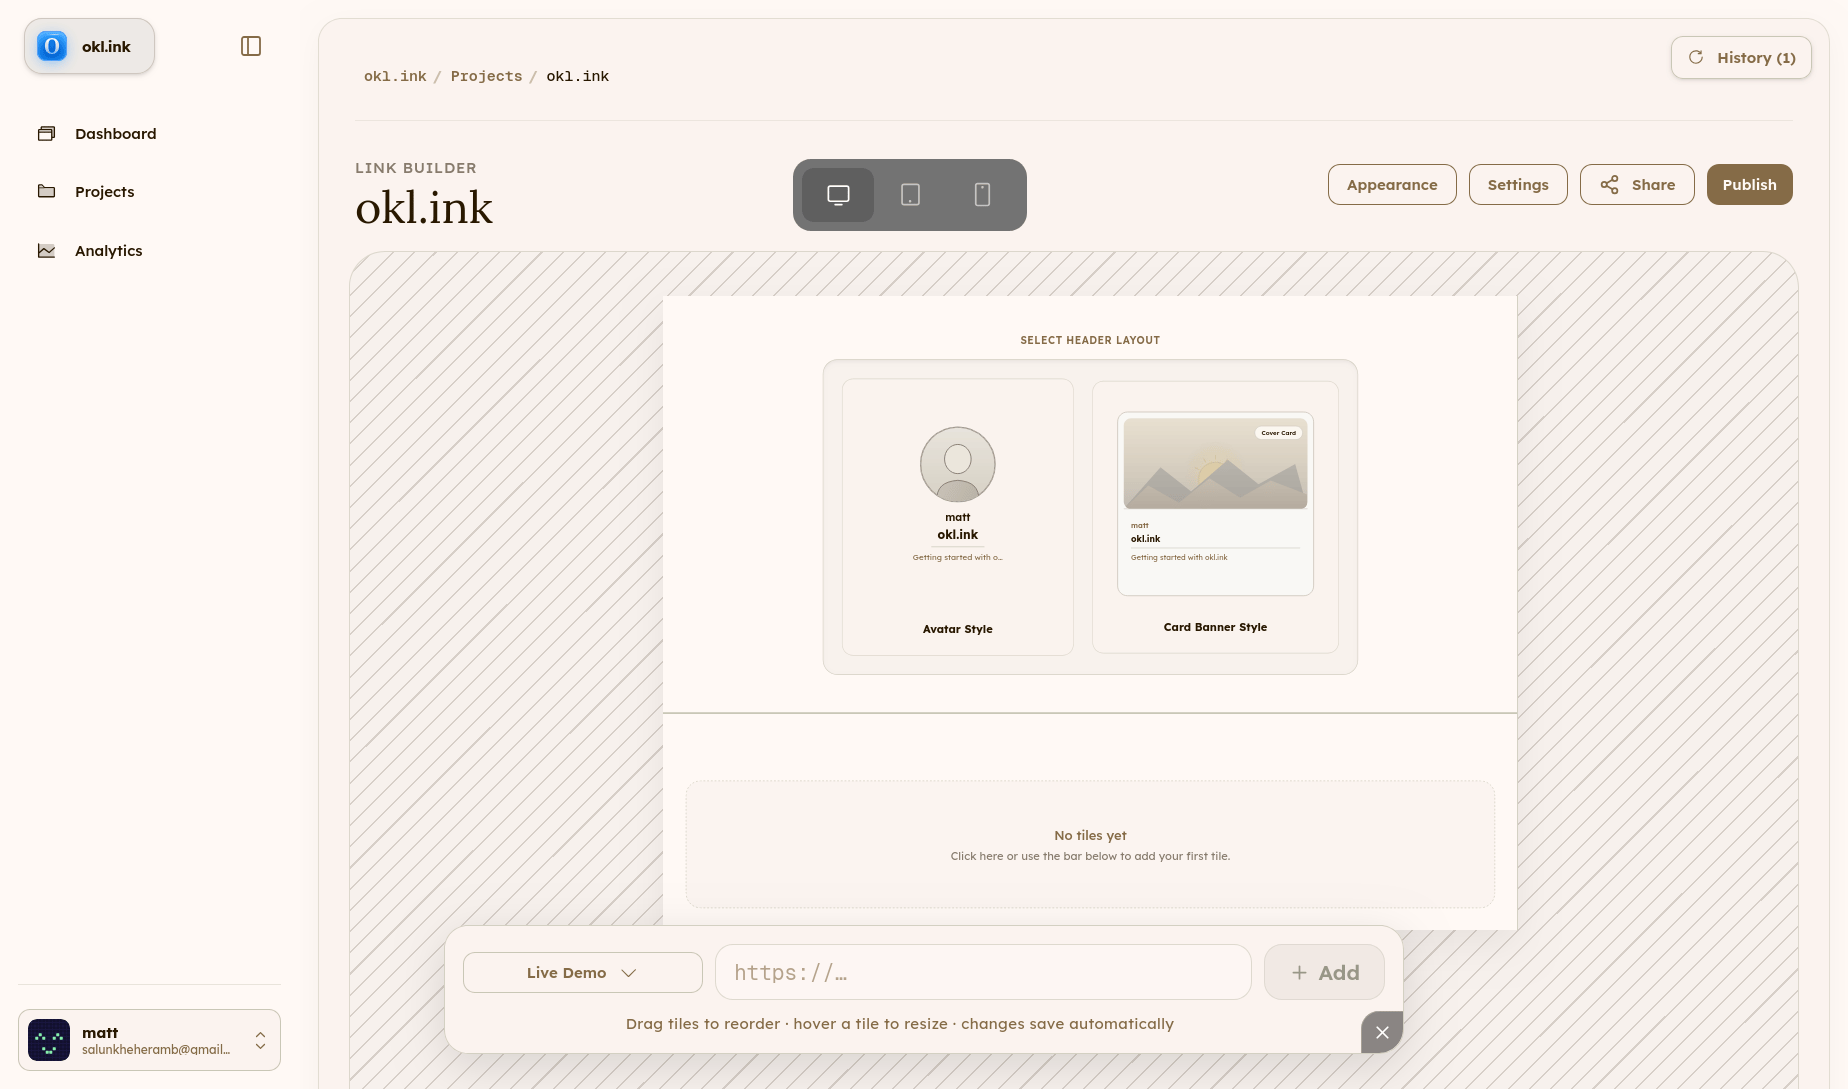
+) on the canvas to add your resources.Live Demo / Website
URL to your hosted deployment (e.g., Vercel, Fly.io, custom domain).
Code Repository
Link to GitHub, GitLab, or SourceHut repo.
Documentation
Link to docs, API specs, or guides.
Socials & Media
Interactive embed cards for X, LinkedIn, or YouTube videos.
1x1: Compact square icon widget2x1: Standard horizontal card with title & subtitle2x2: Large square for rich media & social previews4x1: Full-width banner strip
Interactive Bento Canvas & Tile Builder
4
Customize Appearance & Theme
Open the Appearance panel in the builder sidebar: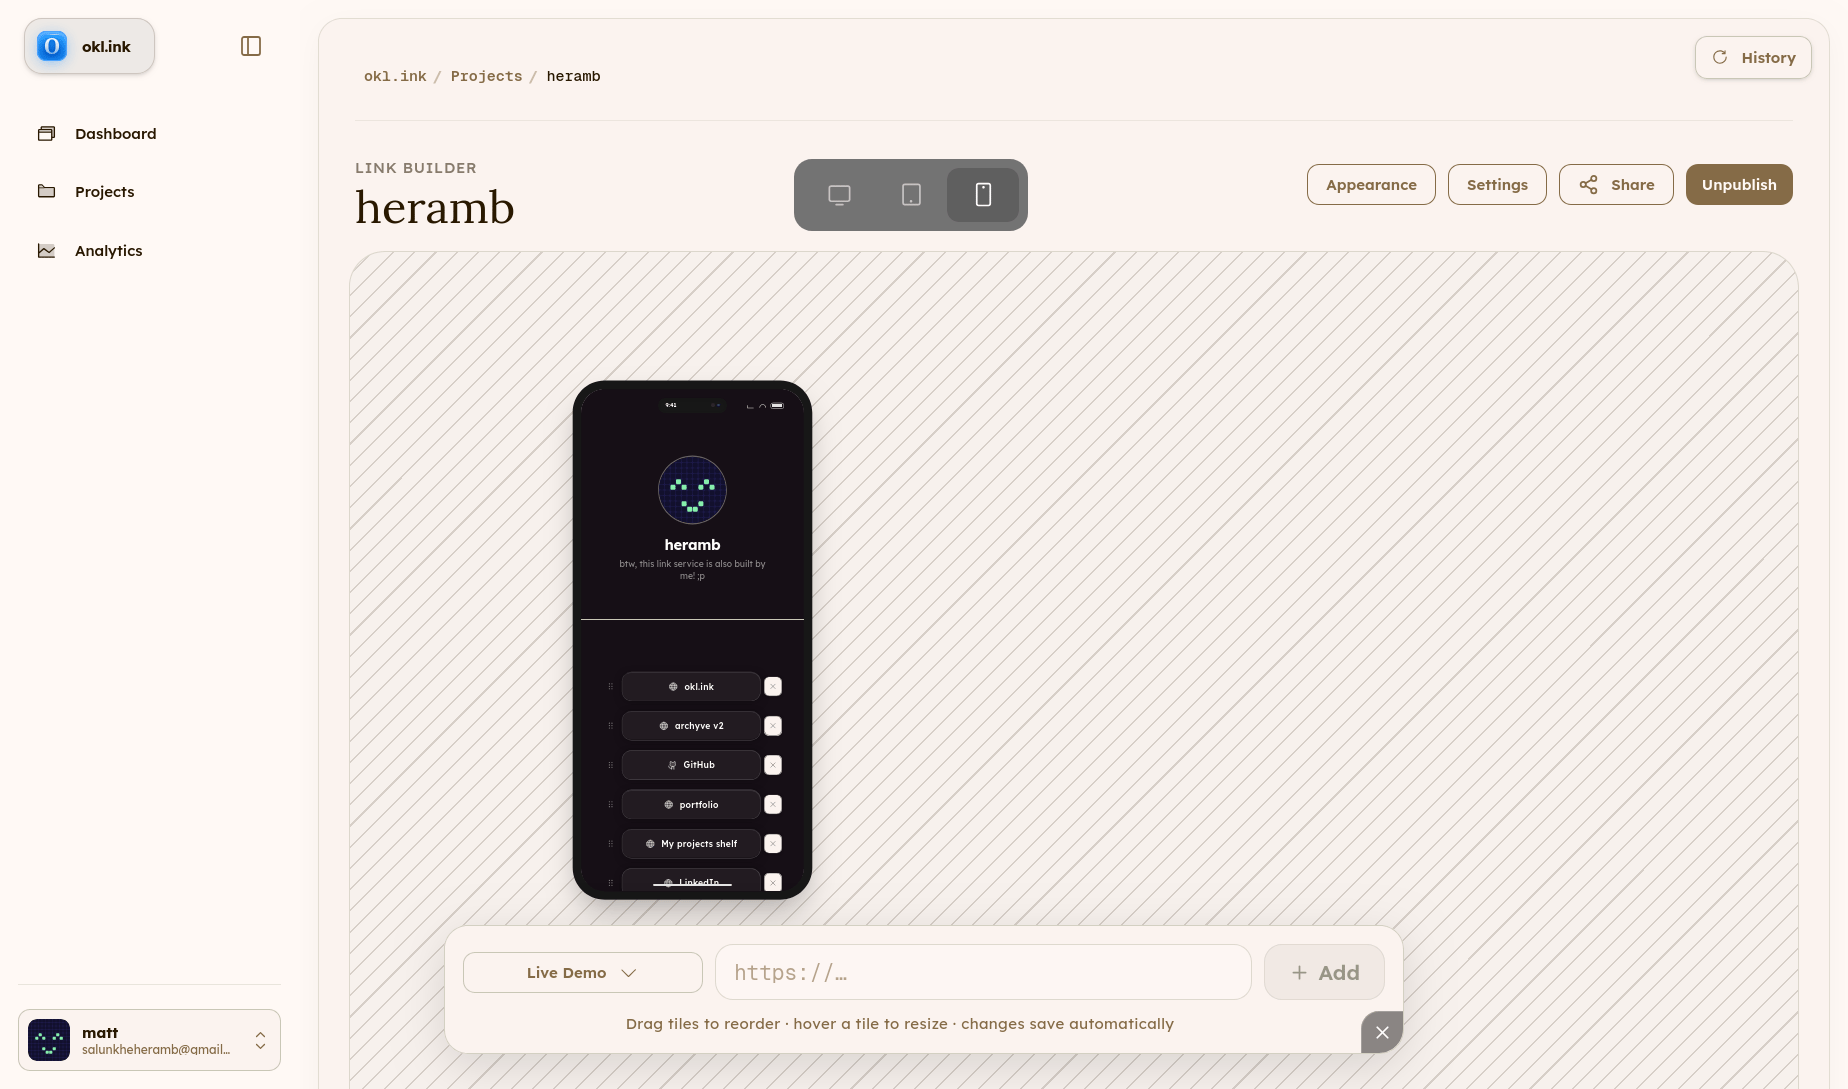
- Presets: Choose from
oklink(warm editorial),midnight(deep slate),paper(minimal sepia),vivid(punchy indigo/orange), orlofi(matte monochrome). - Typography: Select
Modern(Inter/system),Editorial(serif),Mono(code), orGeist. - Corner Radius: Adjust between
Sharp,Rounded,Soft, orPill. - Density: Toggle between
Compact,Comfortable, andAiry. - Custom Colors: Override background and accent colors with real-time contrast calculations.
Theme & Appearance Customization Panel
5
Publish and Share
Toggle the Published switch in the top toolbar.Your page is now live at
okl.ink/<your-slug>.